Applying for a travel, student, or work visa to the United States can feel overwhelming with all the forms, guidelines, and appointment schedules. However, almost every temporary stay in the U.S. begins with one single, crucial document: Form DS-160 (Online Nonimmigrant Visa Application).
Whether you are applying for a B1/B2 visitor visa, an F-1 student visa, or an H-1B temporary worker visa, completing your DS-160 correctly is the foundation of a successful visa interview.
This detailed, step-by-step guide walks you through the entire process—from gathering your documents to submitting your application and preparing for your consular interview.
What Is Form DS-160?
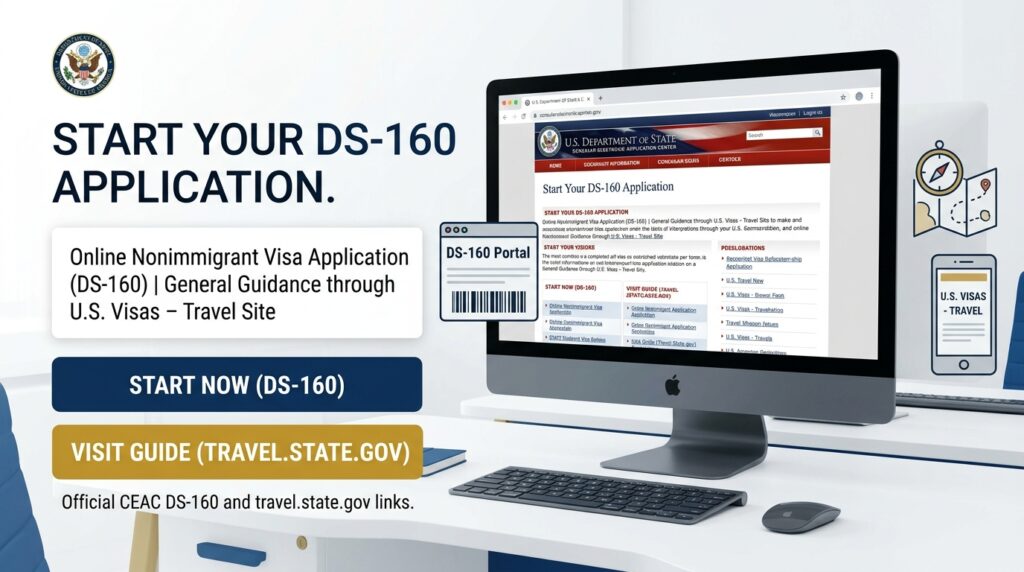
Form DS-160 is a fully electronic, web-based application form used by the U.S. Department of State. It collects biographical, employment, travel, and security information from foreign nationals seeking nonimmigrant visas to enter the United States.
The form is submitted online through the Consular Electronic Application Center (CEAC) portal. Once submitted, the data is immediately sent to the U.S. Department of State and used by consular officers to assess your eligibility during your visa interview.
Key Prerequisites: What You Need Before You Start
Before opening the portal, gather all required information and documentation. Having these ready prevents your application session from timing out.
- Valid Passport: Must be valid for at least six months beyond your intended period of stay in the U.S. (unless exempt by country-specific agreements).
- Travel Itinerary: Intended dates of entry and exit, flight details, or hotel bookings (if already planned).
- U.S. Contact Details: Full address, phone number, and name of your hotel, inviting host, sponsor, school (Form I-20), or employer (Form I-797).
- Work & Educational History: Previous job titles, employer contact information, salary history, and details of educational institutions attended after high school.
- Social Media Identifiers: Information on all social media platforms used within the last 5 years (usernames or handles).
- Compliant Digital Photo: A standard 2×2 inch (50×50 mm) color photo taken against a plain white background within the last 6 months (no eyeglasses allowed).
Step-by-Step Guide to Filling Out Form DS-160
Follow these sequential steps to ensure your application is filled out accurately:
Step 1: Select Your Location and Note Your Application ID
- Go to the official CEAC DS-160 Portal (
ceac.state.gov). - Select the location (U.S. Embassy or Consulate) where you plan to apply for your visa.
- Click “Start an Application”.
- Crucial: Immediately copy and save the Application ID displayed in the upper-right corner (e.g.,
AA00XXXXXX) and set your security question. You will need this ID to log back in if your session disconnects.
Step 2: Provide Personal and Contact Information
- Full Name: Enter your surname and given names exactly as they appear in your passport.
- Other Names / Telecodes: List any former names, maiden names, or official telecode representations if applicable.
- Contact Info: Enter your primary phone number, email address, and home address.
- Social Media History: Declare all social media accounts held across platforms (Facebook, Instagram, LinkedIn, X, YouTube, etc.) over the past 5 years.
Step 3: Enter Travel Details and U.S. Contact
- Purpose of Trip: Select your specific visa category (e.g., B2 Tourist, F1 Academic Student, H-1B Specialty Occupation).
- Payer Information: Specify who is paying for your trip (self, company, relative, or sponsor).
- U.S. Host: Provide the name, address, and phone number of your point of contact in the United States.
Step 4: Complete Family, Work, and Education Sections
- Family Details: Provide full names and dates of birth for your parents, and indicate whether you have immediate relatives currently in the U.S.
- Work/Education History: Describe your present occupation and primary duties. Enter details for past employers and higher education institutions attended over the past 5 years.
Step 5: Answer Security & Background Questions
This section covers medical, criminal, security, and immigration violation questions.
- Read every question carefully and answer truthfully.
- A “Yes” response does not automatically disqualify you, but it will require a clear, factual explanation in the space provided.
Step 6: Photo Upload, Review, and Submission
- Upload Photo: Upload your digital passport photo. The system will perform an automated quality check.
- Comprehensive Review: Review every page of your application. Correct any typos or errors in passport numbers or spelling.
- Sign and Submit: Type in your passport number, enter the security code, and click “Sign and Submit Application”.
What to Do After Submitting Form DS-160
Submitting the DS-160 form is only the first step. To finalize your visa request, complete the following actions:
- Print the DS-160 Confirmation Page: After submitting, you will be redirected to a confirmation page with a barcode. Print and save this page immediately. You must bring a printed copy to your interview.
- Pay the Machine Readable Visa (MRV) Fee: Create an account on the official U.S. visa appointment scheduling portal for your country and pay the mandatory application fee.
- Schedule Your Appointments: Book your Biometrics collection appointment at the Visa Application Center (VAC) and your consular interview at the U.S. Embassy or Consulate.
DS-160 Overview & Summary Table
| Parameter | Details & Guidance |
| Official Portal | Consular Electronic Application Center (ceac.state.gov) |
| Official Guidance | U.S. Visas – Travel (travel.state.gov) |
| Application Fee | Varies by category (e.g., $185 for B1/B2, F1; $205 for petition-based H/L) |
| Estimated Completion Time | 60 to 90 minutes |
| Session Inactivity Limit | 20 minutes (save your work frequently!) |
| Required Interview Document | Printed DS-160 Confirmation Page with legible barcode |
Best Practices to Avoid Common Mistakes
- Save Continuously: Click the “Save” button at the bottom of each page regularly to avoid losing progress due to portal timeouts.
- Matching Information: Ensure all names, dates of birth, and passport numbers match your official physical passport word-for-word.
- Accurate Embassy Selection: Ensure the consular location selected on your DS-160 matches the location where you schedule your interview. If you change locations later, you must fill out a new DS-160 for that specific consulate.